Lighting a scene or a subject is relatively simple once you know the principles, but the information can be overwhelming (and contradictory) if you haven’t decided the effect you are trying to achieve yet. In this introduction to lighting we will cover a few main points that will get you started, and will focus on specific topics in more detail over the coming weeks.
Why do you need know about lighting?
Getting the lighting right in a photo is not just about having enough light to expose the picture, it is about creating a mood, capturing an emotion and producing an effect that fits the context.
Using available light
The light available to you will either be the sun or indoor lighting. Depending on the time of day the light from the sun has either warm or cool qualities, and casts shadows in various ways. You may not be able to manipulate the available light (unless you can move the indoor light sources) but you can move your subject. Using the available light means you won’t have to use a flash or compromise your focal length or shutter speed.
Understanding big light
The most natural and subtle lighting is broad light because there is more light available to bounce off more surfaces which in turn lessens the amount of shadow in a picture. Big light like this reduces the effect of their being a source of light. To make the available light appear bigger – move the light closer to the subject (or vice versa). Narrow light, or a light source far away delivers a more focussed beam of light, which will accentuate texture and highlight detail.
Flash
Generally speaking do not use a flash unless it is completely necessary. The effect is harsh because the light is narrow, and far away.
Angles
Light from the front will supress texture by reducing shadows. This is great for wrinkle-free portraits, but can also reduce the ‘depth’ of a subject in a picture therefore is no so great for pet portraits where you’d like to capture the texture of fur for example.
Light from the side will add depth to a subject, in portraits consider that this will highlight imperfections in the skin, whereas in landscape photography it will add texture to the scene.
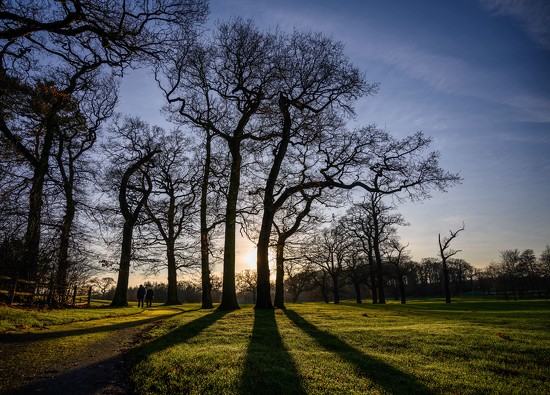
Light from behind, if it is narrow or far away, will create a silhouette of your subject. If it is nearer, or broader, it will bounce off other surfaces and light the scene.
Light directly from above or below both produce dramatic and generally unflattering effects in portrait photography, but can create dramatic effects if that is what you are after.
Light Quality
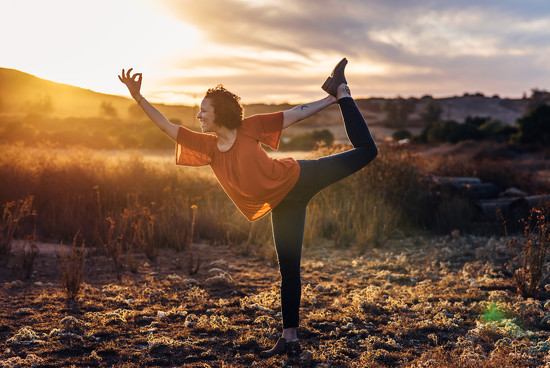
Depending on the time of day the light from the sun has either warm or cool qualities. With indoor lighting there is quite a difference between the light quality of tungsten and florescent tube lighting – to counteract this you can use filters or adjust using your camera’s white balance settings. The Golden Hour (the hour before the sun sets) is considered one of the most flattering times to take pictures thanks to a golden a golden glow and ultra-diffused light.
Studio Lighting
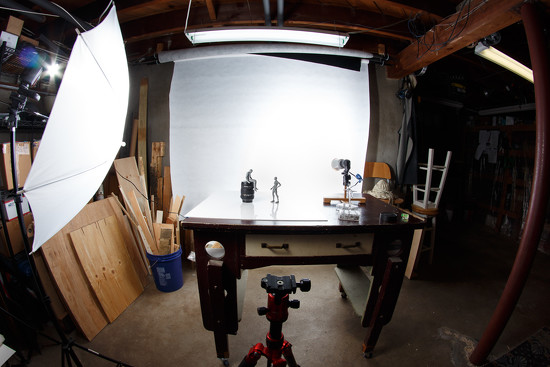
In a studio you can use a range of lamps and flashes in conjunction with diffusers, softboxes and reflectors to manipulate the way light travels in the studio and lights up your subject. Basic kits can be inexpensive, specialised kits can set you back a small fortune - but there are some great DIY solutions available for the beginner.
DIY Lighting
White sheets, white card, plastic from milk bottle cartons, and aluminium foil will become your friends! Add a few lamps and a slave flash if you can and you will have all you need to light a just about any scene!
Inverse Square Law
Don’t be scared, it basically means that the further away the subject gets from your light source, the quicker the light ‘drops off’, one effect is that the background will get increasingly darker in comparison to the subject. This is because a beam of light spreads out, and the further away the subject is from it, the less proportion of that light falls on it. You can rectify this by correcting the distance between the two, by making the light stronger, or by adjusting your shutter speed.
Next time we post about lighting, I’ll be sharing some excellent tips for flattering portraits.
Photo credit to Christine, Christine and Batfish
**Photos updated December 29**


