The principles of shooting at night, well, they aren’t really that different from shooting in the daytime, and it all depends on the effect you want.
A high ISO will let in more light, but can add graininess to a picture. A low ISO is less grainy, but lets in less light, so you will need a longer shutter speed to let in more light – which of course will capture ‘movement’. If you want a sharper shot you will need to balance these two up and play around with the aperture to decide what is more important to get the shot you want!
What you really need is the vision to see light in a new way and everyday objects in a new light! Here is some inspirational advice to help you on your way, and DON’T FORGET YOUR TRIPOD!
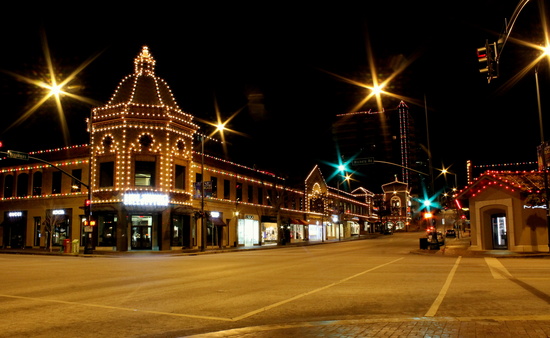
It isn’t all about light trails – Although moving lights against a dark background are screaming for the attention of a long exposure, at night when everyday static objects such as statues, signs and of course buildings are lit up they take on a whole new aesthetic, just waiting to be captured.
It isn’t all about long exposures – OK, so it is dark, but you can crank up your ISO to get a sharper shot than you’d expect. A good tip is to take along a flashlight to pick out details in your shot without lighting up the whole scene.
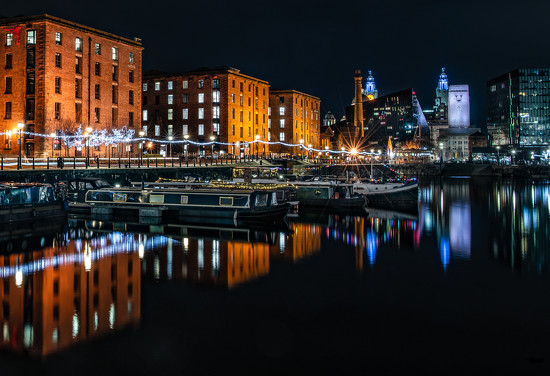
Starbursts – There is a neat trick to getting a nice starburst effect from light sources (think streetlights, light reflecting on water etc), a special effects lens called a star filter. These are etched filters that spread light along the lines to create a ‘burst’ of light, with 4, 6, 8 and 16 pointed star effects. If you want to achieve the effect without the aid of a filter, choose a narrow aperture.
Use existing light sources – The moon, streetlights, light coming from a fairground, streaming from a window, escaping from a gap in a door. The trick is to make the most of what light is available to light up your shot, you will soon develop a keen eye for spotting the smallest source of light.
Add your own light source – Use a flashlight to either light a part of the shot for dramatic effect or to capture detail of a silhouetted object. Taking along a flashlight also means that you can have fun experimenting with a spot of light painting!
Look for reflections – The beauty about night photography is that light can be found in unusual places. Personally, I like taking to the outdoors if it has been raining, roads and pathways come alive with colour. Puddles, ponds, rivers, car bonnets and darkened windows are also places where you’ll find great reflections.
Look for isolated light – This can be a gas station lit up along a darkened road, an illuminated sign, a figure standing in the dark, face lit up looking at a phone screen, a person watching TV in a dark room, a hot dog vendor serving food under a light. The contrast between the dark and the colour produces and incredibly dramatic effect, like pools of light in a dark abyss – beautiful!
We would like to hear your tips for spotting a good shot at night – what grabs your attention and how do you get the look you were after? Share your shots with us below…


http://www.photofacts.nl/fotografie/rubriek/tips_en_truuks/tien_geheimen_van_nachtfotografie.asp
Artificial lights, especially coloured ones, can lead to some quite interesting effects. Look for light and shade - shadows can be coloured, you will likely find amber and violet, blue and jet black, and sometimes objects cast more than one shadow.
Streets take on a different atmosphere at night - it can be fun to try to capture something of that. I like "vintage" photography and night can be a good time for that.
On cold nights, mist, steam and fog can show up beautifully in lighting. A combination of rain and the colours from different lighting can transform wet walls, pavements, etc.
I love doing night photography. At first I didn't think I would but I enjoy the challenges it presents - though on winter nights your time can be limited to the point where your fingers go numb with cold...